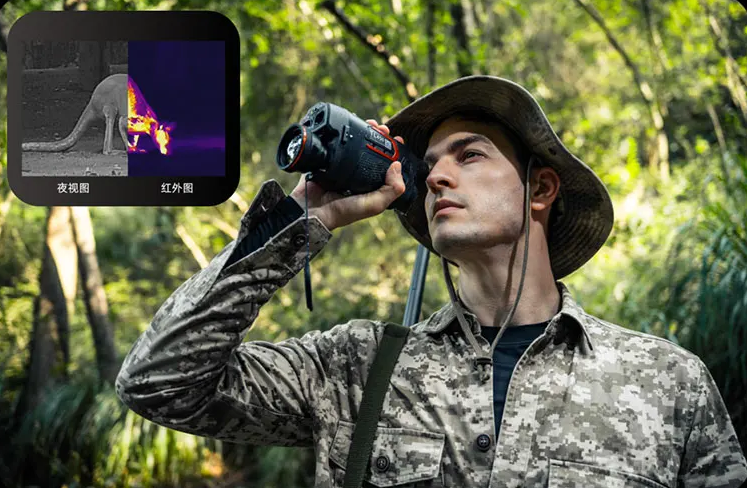
Night vision devices are mainly divided into three types: low-light-level night vision devices, digital night vision devices, infrared thermal imagers. This article will focus on the usage and precautions of low-light-level night vision devices.
ONICA | How to Use Night Vision Devices and Precautions
How to Use Low-Light-Level Night Vision Devices
One important point to note before using low-light-level night vision devices is the most important. Low-light-level night vision devices cannot be used normally during the day. Never open the lens cover during the day, regardless of whether batteries are installed.Install the batteries correctly. Follow the polarity instructions on the night vision device's battery compartment and select the correct battery model. If there are no instructions, the negative terminal is generally on the side with the spring.
To reiterate, low-light-level night vision devices must be used at night and in low-light conditions. Therefore, the next step is to ensure the proper operating environment. Open the objective lens cover (the side of the lens opposite your eye).
The third step is to focus the target by rotating the objective lens clockwise or counterclockwise until the target is clearly visible. This step is called focusing. If the target is still unclear whether the objective lens is rotated clockwise or counterclockwise, adjust the diopter adjustment ring (adjustment wheel) at your eye level.
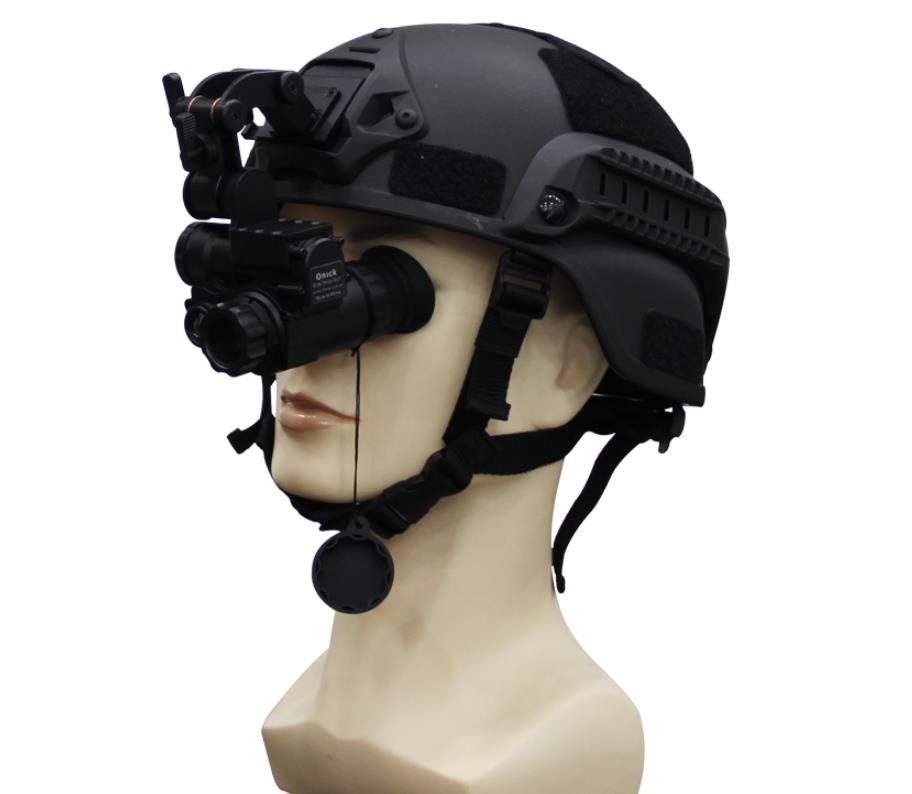
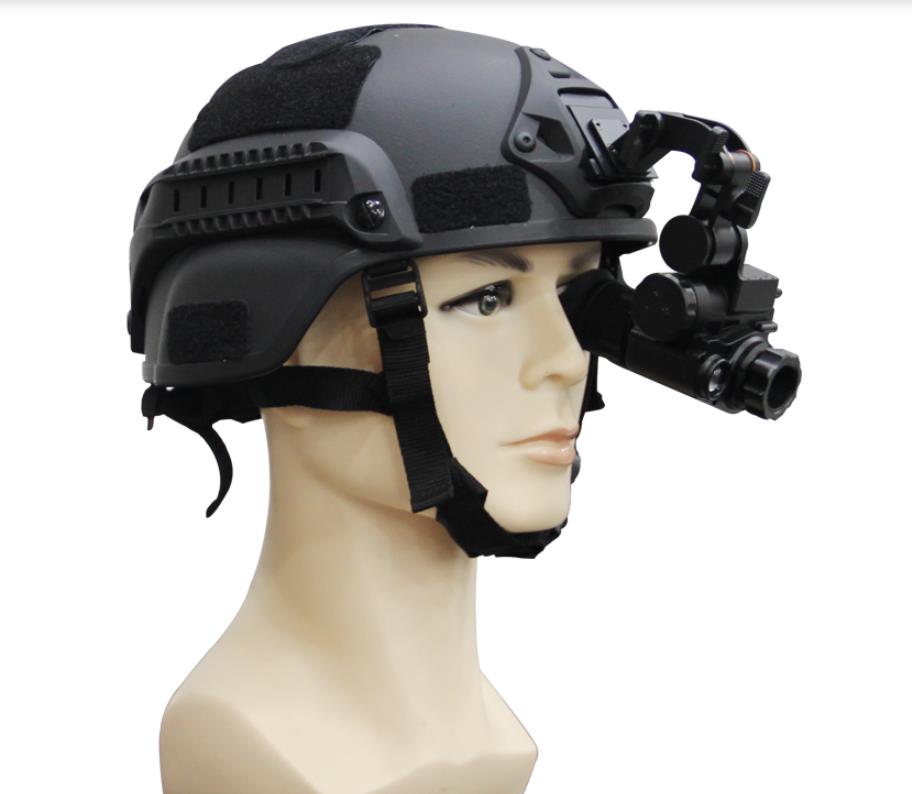
For binocular night vision devices, some models also offer adjustable eye relief, adjusting the distance between your two eyes for more comfortable viewing. Of course, night vision devices without eye relief adjustment are factory-set and do not require adjustment.If you are using a helmet or headband, be aware of this issue. Some users have reported that the device shuts down after installing a helmet. This is because the guide rails are inserted too far when the helmet is installed. Many individual soldier night vision devices come standard with a magnetic flip-up automatic power-off feature for greater convenience.
Remove the battery from the device when it is not in use for extended periods.

Precautions for Using a Low-Light-Level Night Vision Device
Do not disassemble or assemble the device yourself.
Store the night vision device in its carrying case in a dry, well-ventilated area to prevent moisture and mold on the lens. Keep away from heating devices and avoid direct sunlight, high humidity, and environments with drastic temperature fluctuations.
Night vision devices should be used at night. Avoid facing toward strong light sources such as streetlights, headlights, or fire. If testing is required during the day, ensure the lens cover is intact and inspect through the small hole in the lens cover.
Use high-quality lithium batteries; inferior batteries will affect performance and can easily damage the device.
Try to avoid exposure to rain, fog, and drops, as well as vibrations and impacts.
Do not wipe the lens frequently. If necessary, use a clean, soft lens cloth dampened with alcohol before cleaning the lens surface, taking care not to scratch it.
Remove the battery if not in use for more than three days to prevent battery fluid from damaging the device.
Note: It is normal for the device to not power on when the ambient illumination is high (usually over 40 LUX). The device has an anti-glare protection feature to protect the image intensifier from damage. During the day, in strong sunlight outdoors or indoors, do not remove the lens cover before turning on the power. During this time, view through the small hole in the center of the lens cover.


Low-Light-Level Night Vision Device Troubleshooting and Maintenance
The following are common faults and solutions. If your fault is not listed below or the problem remains unresolved after following these instructions, please feel free to contact us.
If the night vision device does not power on:
Check that the batteries are installed according to the polarity instructions.
Replace new batteries.
Clean the battery compartment, especially the contacts.
If the image flickers:
This indicates excessive ambient light, such as when observing at dusk. Turn off the power and replace the objective lens cover. The night vision device will resume normal operation when the illumination does not exceed 0.1 lux, such as under a full moon.
If there is no image or the image is out of focus:
Refocus by adjusting the objective lens. If necessary, adjust the diopter by rotating the eyepiece.
Check that the objective lens and eyepiece surfaces are clean. Wipe them with a lens cloth if necessary.
Replace new batteries.
In extremely low ambient light, activate the built-in infrared auxiliary light source. If the image disappears or deteriorates:
The automatic power-off function prevents damage to the device from excessive light exposure. Replacing the lens cover ensures proper operation upon initial startup. Turn off the power first and wait until the light dims before resuming observation.
Sudden exposure to strong light sources, such as streetlights, may cause image clarity to diminish or disappear. Immediately move away from the light source; the image should return to normal within a few minutes.
Image Quality Explanation:
The image viewed through a night vision device is completely different from that seen through a regular daytime telescope. Night vision devices electronically amplify the image before displaying it on the screen, so clarity is not as good as that seen through a daytime telescope.
The electronic intensifier tube may produce a snowy background on the image, which is perfectly normal.
Electronic intensifier tubes often have some irregular black spots, which may be visible when observing close up. However, this does not affect observation. This is normal and does not indicate a quality issue. It does not indicate a defect or poor quality, and therefore does not affect the stability or performance of the device.


