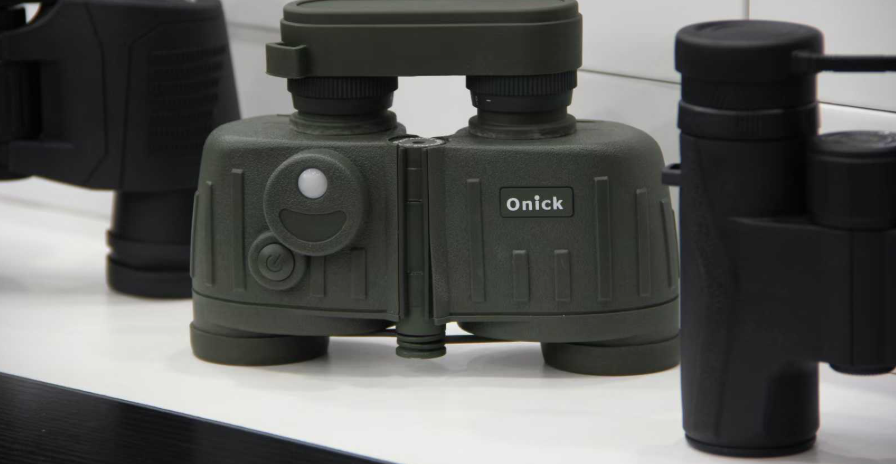
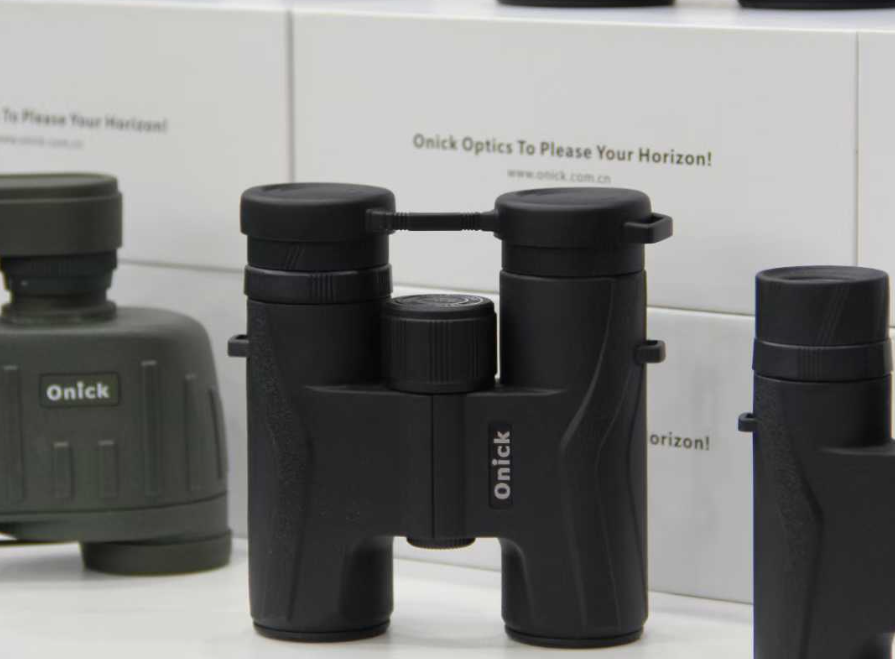
Do you still not know how to use a telescope? Here, the editor combines years of practical experience to give you a guide to binocular telescope operation. Those who don’t know how to use it, hurry up and take your telescope and try it.
1. Preparation
Check accessories:
Make sure the telescope body, objective lens cover, eyepiece cover, and neck strap (lanyard) are complete.
If there is a lens cleaning cloth/pen, make sure it is clean.
Check whether there is an instruction manual (it is recommended to read it for the first time).
Install the neck strap:
Firmly connect the buckles at both ends of the neck strap to the lanyard connection rings on both sides of the telescope barrel. Ensure that the connection is reliable to prevent accidental slipping.
Remove the lens cap:
Remove the protective caps of the objective lens (the large lens at the front) and the eyepiece (the small lens at the back), and place them carefully to avoid losing them.
2. Basic operation and adjustment
Holding posture:
Hold the two barrels of the telescope with both hands. The index finger or middle finger should be placed naturally on the central focusing wheel.
The thumb is placed on the bottom or side of the barrel to provide support.
Hold the telescope in front of your eyes, gently clamp your elbows to the sides of your body or lean on a stable object (such as a railing or windowsill) to reduce shaking. Staying stable is the key to getting a clear image!
Adjusting the interpupillary distance:
Purpose: Make the distance between the optical axes of the left and right eyepieces consistent with the distance between your pupils. If the interpupillary distance is incorrect, the images you see cannot completely overlap, and double images or discomfort will appear.
Operation: Hold the tube with both hands, and bend/stretch the central axis of the telescope (the bridge part connecting the two tubes) inward or outward until the two circular fields of view you see through the eyepiece merge into one, forming a complete circular field of view. This step is very important! Readjustment is required before each use or when different users use it.
Diopter compensation adjustment (if the telescope supports it):
First use the central focusing wheel to make the image seen by the left eye clear (close the right eye or cover the right eyepiece).
Keep the central focusing wheel in place, close the left eye or cover the left eyepiece, and observe with the right eye.
Rotate the diopter compensation ring of the right eyepiece alone (usually the ring with scale on the eyepiece tube) until the image seen by the right eye also becomes clear and sharp.
Important: Remember the position of the right eyepiece adjustment ring (or some models can be locked). When you use it later, just use the central focus wheel to focus on the left eye, and the right eye will automatically become clear (unless the vision changes). Be sure to complete this step for the first use!
Purpose: Compensate for the difference in vision between the left and right eyes (such as one eye has higher myopia/hyperopia than the other eye).
Operation (usually on the right eyepiece):
Central focus:
Purpose: Make the observed target clear.
Operation: Open both eyes at the same time and focus on the target. Slowly turn the central focus wheel (usually a larger knob) located on the central axis. Turn clockwise or counterclockwise until the target image becomes the clearest and sharpest.
Tips: Start from a blurry state, slowly turn the focus wheel, find the clear point and then fine-tune to confirm. Refocusing is required to observe targets at different distances.

3. Observation skills and precautions
Finding the target:
First, lock the general direction and position of the target with your naked eyes.
Keep the telescope stable and point the telescope in that direction.
When observing through the eyepiece, you may need to move the telescope slightly to scan and locate. Don't expect the telescope to find the target as easily as a camera viewfinder, especially at high magnification.
Keep stable:
Shake is the biggest enemy that affects the clarity of observation. Use support as much as possible: lean against a wall, lean against a tree, sit, support your elbows on your knees or a platform.
Breathe steadily and press the focus wheel lightly.
High-magnification telescopes (such as 10x and above) are more sensitive to shake and require higher stability.
Use the right magnification:
The higher the magnification (such as 12x, 15x), the more obvious the magnification effect, but the smaller the field of view, the darker the image, and the more sensitive to shake.
The lower the magnification (such as 7x, 8x), the larger the field of view, the brighter and more stable the image, and the easier it is to find the target.
Choose the right magnification according to the observation target (birds, scenery, astronomy) and stability conditions. 7x or 8x is usually the most versatile choice.
Adapt to the field of view:
The field of view (the range seen) of a telescope is much smaller than that of the naked eye. The best observation effect is through the central area, and the edges may be distorted or blurred (depending on the quality of the telescope).
Avoid glare and ghosting:
When a strong light source (such as the sun, street lamp) directly hits the objective lens or enters the eyepiece from the side, it is easy to produce glare or ghosting in the field of view, affecting observation. Try to block stray light with your hands or a visor, or slightly adjust the observation angle.

IV. Important safety and maintenance tips
Absolutely do not look directly at the sun!
This is the most important safety warning! Even if the sun looks soft near the horizon, the sunlight gathered through the telescope will instantly burn your retina permanently and cause blindness! Never use binoculars (or any optical device without a special solar filter) to directly observe the sun or the area near the sun!
Handle with care:
The telescope is a precision optical instrument, avoid falling, collision, and squeezing.
Protect the lens:
First blow away large particles of dust with an air blower.
Then use a special lens cleaning pen to gently wipe it off.
If there are oily fingerprints, use a special lens cleaning liquid to drop on the microfiber lens cloth (do not drop directly on the lens), and gently wipe from the center to the outside. Do not wipe with ordinary paper towels, sleeves of clothes, or breath!
Be sure to cover the objective lens cover and eyepiece cover when not in use.
Avoid fingers, grease, and dust from contacting the lens surface. If the lens is dirty:
Storage environment:
Store in a dry, cool, and dust-free place. Avoid high temperature, high humidity (prone to mold), and direct sunlight.
For long-term storage, it is recommended to store it in a moisture-proof box or sealed bag with a desiccant.
Avoid sudden temperature changes:
When going from a cold outdoor to a warm indoor room, or vice versa, water vapor is easily condensed inside the lens. The telescope should be allowed to slowly adapt to temperature changes in a bag or box before taking it out for use or cleaning.

Summarize the key steps
Install the neck strap and remove the lens cover.
Hold it steadily with both hands.
Adjust the pupil distance to make the left and right fields of view consistent.
Adjust the diopter (if necessary) to compensate for poor vision.
Use the center focus wheel to bring your subject into sharp focus.
Keep it steady! Use props.
Never look at the sun through a telescope!
Put the lens caps on after use and store them away.
Practice is the best teacher! Practice holding, interpupillary distance adjustment, and focusing a few times, and you'll quickly master the technique and enjoy the wonderful view your telescope brings. If you have specific questions about a specific model, you can explain in more detail.


